Lighting Techniques for Professional Portraits
Imagine a portrait bathed in soft, flattering light, where every detail – from a captivating smile to a thoughtful expression – comes alive. Lighting is the sculptor’s chisel in the photographer’s hand, shaping features, creating mood, and elevating a portrait from ordinary to extraordinary. So, photographers, are you ready to unlock the transformative power of light in your professional portrait sessions? Let’s explore essential lighting techniques that will illuminate your subjects and your creative vision.

Harnessing the Power of Natural Light: The Soft Touch
Natural light is a photographer’s best friend, offering a soft, flattering quality that’s perfect for creating timeless portraits. The key lies in understanding how natural light behaves throughout the day. Soft, diffused morning light or the golden hour (just before sunset) are ideal for creating a warm and inviting atmosphere. Midday sun can be harsh, but with strategic positioning (placing your subject in shade) or diffusers, you can still create beautiful portraits.
Studio Lighting: Shaping Light for Dramatic Effect
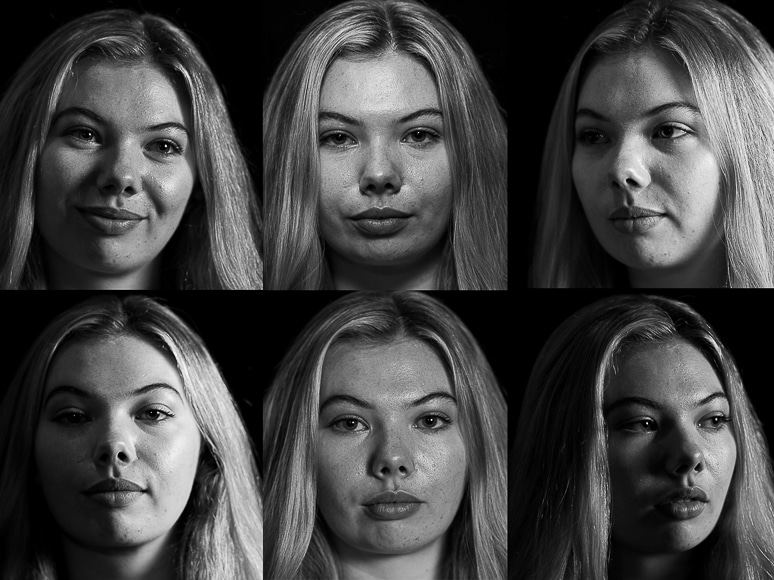
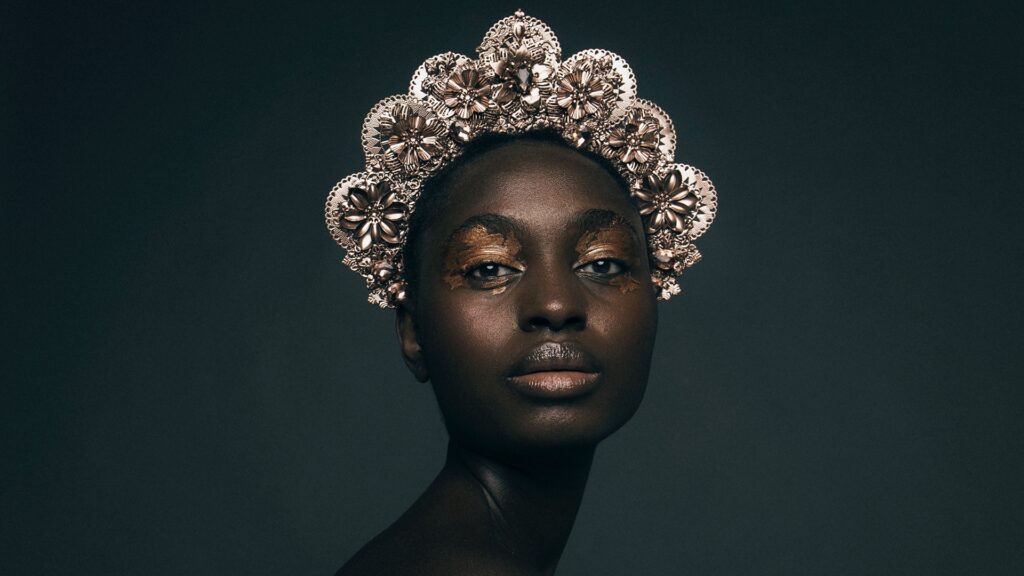
Studio lighting allows for complete control over light, opening a world of creative possibilities. Mastering the basic three-point lighting setup (key light, fill light, and back light) is essential. The key light is your main source of illumination, sculpting the subject’s features. The fill light reduces shadows and creates a more balanced exposure. The back light separates your subject from the background and adds a touch of dimensionality. Experiment with different lighting ratios and placements to achieve dramatic or subtle effects.
Light Modifiers: Playing with Texture and Softness
Light modifiers like softboxes, umbrellas, and beauty dishes are your tools for shaping and diffusing light. Softboxes create a large, soft light source, ideal for flattering portraits. Umbrellas offer a broader spread of light, perfect for creating a more natural look. Beauty dishes produce a focused beam of light with a soft falloff, perfect for highlighting facial features and creating a glamorous effect.
The Art of Catchlights: Adding Spark to the Eyes
Catchlights are those little specks of light you see reflected in a subject’s eyes. They add life and spark to portraits, making them appear more connected and engaged with the viewer. Strategic positioning of your light source is key to achieving beautiful catchlights. For a classic look, position your main light source slightly above and to the side of your subject.
Background Lighting: Setting the Stage
Don’t neglect your background lighting! A well-lit background can add depth and dimension to your portrait. For a clean, seamless look, use a separate light source to illuminate the background evenly. Alternatively, you can use colored gels to create a dramatic pop of color and separate your subject further.
Experimentation is Key: Breaking the Rules and Finding Your Style
Mastering the fundamentals is essential, but don’t be afraid to experiment with lighting techniques. Try backlighting your subject for a silhouette effect, use side lighting for a dramatic chiaroscuro effect, or play with colored gels for a creative pop. The key is to understand how light interacts with your subject and the environment to achieve the desired effect.
Light and Location: Adapting Your Approach
The way you approach lighting will vary depending on your portrait location. If you’re shooting outdoors, use natural light creatively and be prepared to adapt based on time of day and weather conditions. When shooting in a studio, experiment with different lighting setups and modifiers to achieve your vision.
By understanding and mastering these essential lighting techniques, you’ll transform your professional portrait sessions. Light is more than just illumination; it’s a storytelling tool that can enhance emotions, create depth, and elevate your portraits to new heights. So, photographers, grab your camera, embrace the power of light, and get ready to illuminate your creative vision!


